Fulfilling Purchases
In Entrata's AP exchange, as your customer creates purchase orders (POs) through the your synced profile in Entrata, these POs populate in your VendorAccess account to review and fulfill. You can then create an invoice in VendorAccess to sync back to your customer's Entrata environment, which the customer can then use to process payment. In addition to covering how to review POs and create invoices, this article also covers the various statuses and actions in VendorAccess that help you manage these transactions.
Reviewing Purchase Orders
In your account click on the New Orders quick link. This navigates you to the Orders page and filters the orders with a status of New.
Click the PO number to open the Purchase Order window and review the PO. The PO's status changes to Open.
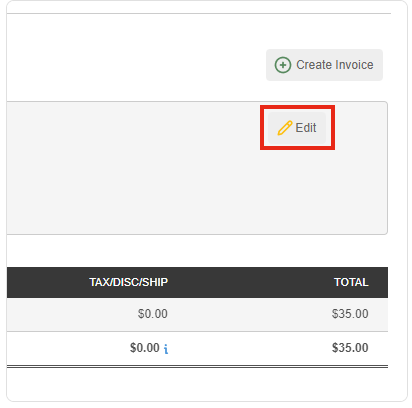
To update the PO status and give the PO an assignment, click on Edit and adjust any fields as needed.
Changing a PO's Assignment and Order Status
If needed, click the Assignment drop-down and select the user to be assigned to fulfill the PO.
You can click the Order Status drop-down and selects the appropriate status. These statuses keep your customer informed of the PO's progress as you fulfill (or cancels) it.
These are the PO statuses and the actions you can take with each.
New: The PO has been initially seen and reviewed, but has not begun any fulfillment, or been denied and cancelled. The customer may still edit the PO in Entrata.
In Progress: Mark In Progress means you are in the process of fulfilling the PO, and this locks it in Entrata so the customer can no longer edit the PO. If the customer reaches out to the vendor wanting to make an edit to the PO in this status, you do have the option to roll the order back to a New status, where they can edit the PO. Or, if preferred, have them submit a new PO with the updated details and cancel the first one.
Fulfilled: Mark as Fulfilled signifies that you have completed the PO and helps you organize orders to identify which orders have been completed, but have not been invoiced in VendorAccess. You can create an invoice for the PO by clicking Create Invoice.
Deny/Cancel: Marking with Deny/Cancel returns the PO to the customer if they cancel the order, if they request to submit an updated PO, or if you are unable to fill and complete the order.