Building your VendorAccess Account
After you’ve created your VendorAccess account for your company, the account needs to be built out so it can properly interact with their clients using Entrata. This includes adding locations, adding account details, and adding employees to VendorAccesss. Once added, your account will be synced with the vendor profile housed in the Entrata environment so records are always stays up-to-date.
Adding a Location
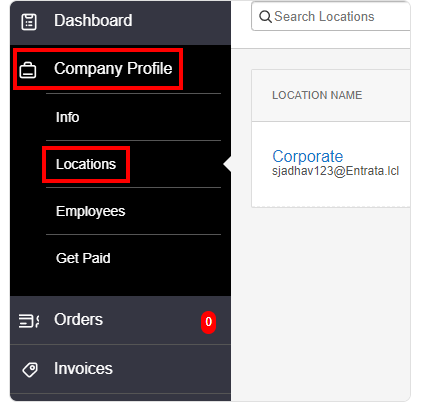
- Navigate to the Company Profile sidetab and then to the Locations sidetab.
- Click Add New Location on the right side of the window. The Add New Location window opens, with required fields marked by an asterisk.
- Enter a Location Name.
- Choose a Legal Entity from the drop-down menu.
- Enter an Address and Phone for the location.
- Select a Preferred Payment Type and enter a Remittance Name.
- Choose the Primary Point of Contact for the location.
- Click Add. The location is added to your Company Profile.